Preparing access for students
After groups and laboratories are ready, choose how students will reach the labs. The goal is to make access as direct as possible so students do not get lost between the course platform, the LabsLand space, and the laboratory.
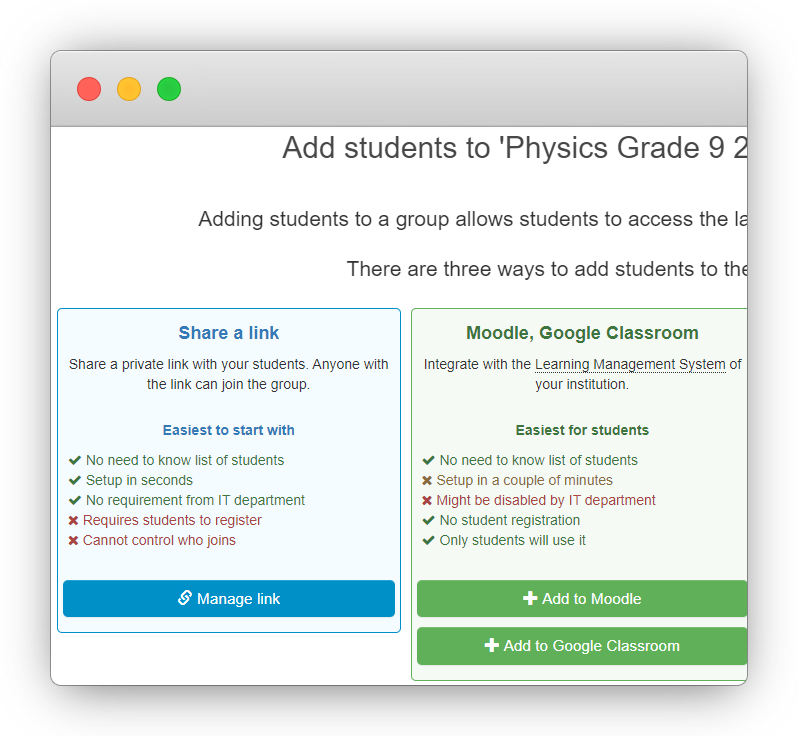
There are two common ways to provide access:
- a direct access link associated with a group
- an integration with the institution’s learning platform, such as Moodle, Canvas, Blackboard, Sakai, ILIAS, Google Classroom, or another LMS
Choose an access method
Section titled “Choose an access method”- Use an access link when you want a simple method that can be shared in a message, document, classroom page, or LMS announcement.
- Use LMS access when students should launch LabsLand from an existing course platform.
- Use Google Classroom when the class already works through Google Classroom and you want the lab activity to sit there.

Direct access through a link
Section titled “Direct access through a link”Access through a link works for any school, university, or organization. The teacher creates a link associated with a specific group, then shares that link with students by email, in a document, on a classroom page, or inside an LMS announcement.
When students follow the link, they are asked for basic information such as a nickname and password. After that, they enter the laboratories assigned to that group.
This method is easy for teachers because it only requires sharing one link. The tradeoff is that students still need to identify themselves the first time they enter.
Step 1 - Choose the laboratory and start the process
Section titled “Step 1 - Choose the laboratory and start the process”Open the LabsLand space and find the group that contains the laboratories students should access. If the laboratory is not assigned to the group yet, assign it before creating the student access link.
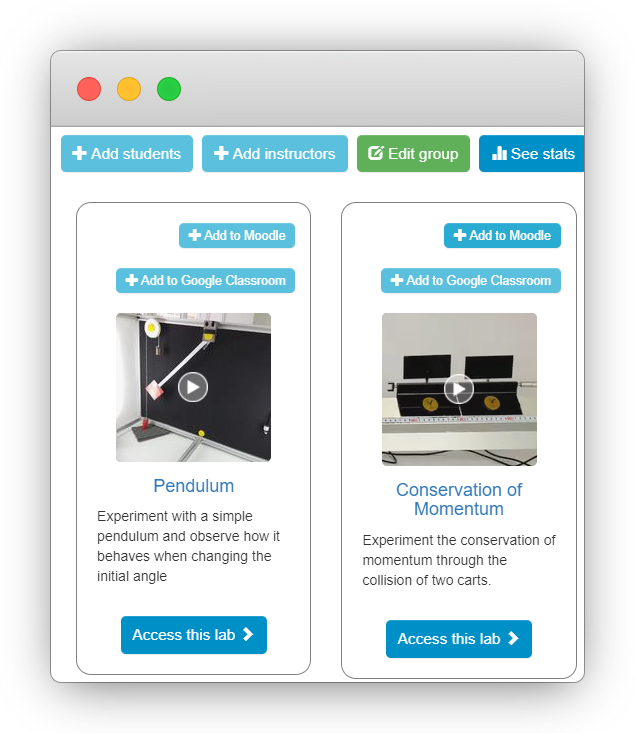
Select Add students to start the access setup.
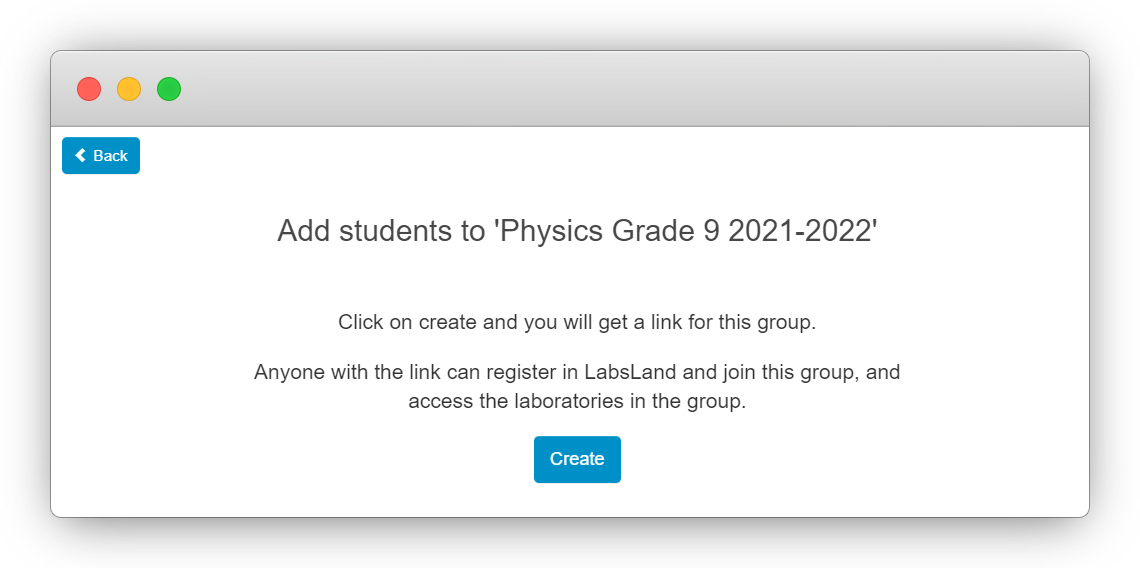
Step 2 - Create the link
Section titled “Step 2 - Create the link”Choose Manage link for the direct access method, then confirm by selecting Create.
Step 3 - Copy and share the link
Section titled “Step 3 - Copy and share the link”After the link is created, copy it and share it where students already expect course instructions.
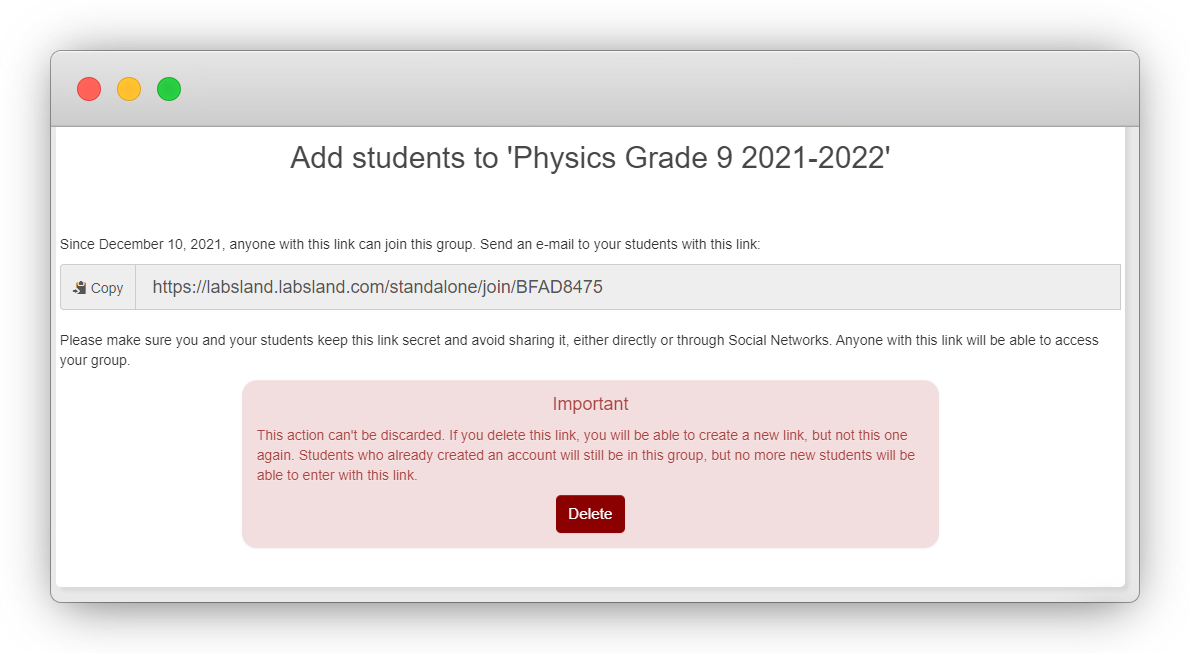
Students only need to follow the link to register or identify themselves and access the laboratories assigned to the group.
Access through a learning platform
Section titled “Access through a learning platform”If the school or university uses an LMS, the recommended method is often to integrate LabsLand into that platform. Once configured, the teacher adds a LabsLand activity in the LMS just like any other course activity.
The main advantage is that students can click from the learning platform and enter the lab directly, without entering extra registration information in LabsLand. The tradeoff is that initial setup can require platform-specific steps, and customized LMS installations may need help from platform administrators or LabsLand support.
Step 1 - Check whether the platform is available
Section titled “Step 1 - Check whether the platform is available”Open the group and look at the buttons available for each laboratory. The buttons should match the learning platform you want to use, such as Moodle or Google Classroom.
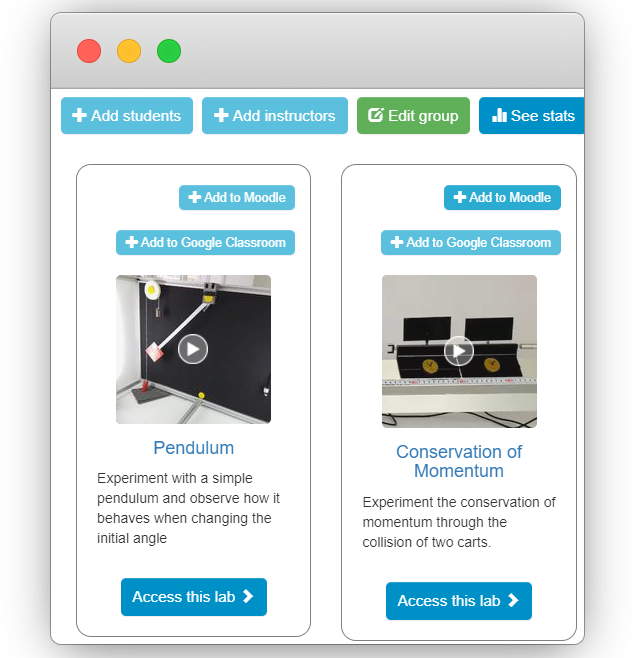
If you cannot find a button for your platform, contact support@labsland.com so LabsLand can review the space configuration.
Step 2 - Follow the platform-specific instructions
Section titled “Step 2 - Follow the platform-specific instructions”After selecting the platform button, LabsLand opens detailed instructions for that LMS. Follow them carefully. Screenshots may not match your platform exactly because schools and universities often customize Moodle, Canvas, Blackboard, Sakai, ILIAS, and similar systems.
If the setup does not work, contact LabsLand support with the institution space, the group, the laboratory, and the platform you are trying to connect.
Prepare the student instructions
Section titled “Prepare the student instructions”Tell students:
- which laboratory they should open
- which group or course the activity belongs to
- whether they need to sign in first
- what they should do if access is denied
- who to contact if they cannot start the lab
Verify before sharing
Section titled “Verify before sharing”Before sending access instructions to students, test them with a non-administrator account when possible. Confirm that the student sees only the intended laboratories and can start the expected activity.
Next steps
Section titled “Next steps”If you want the simplest path, use Configuring access through a link. If your class uses Google Classroom, use Configuring access through Google Classroom.