Creating groups and assigning laboratories
Use groups to control which students can access which laboratories. A group usually represents a class, course, section, or cohort, such as Physics and Chemistry 2026.
Students access laboratories through these groups. This keeps each class focused on the labs it should use and helps teachers or instructors view activity in the right teaching context.
Before you start
Section titled “Before you start”Make sure you have administrator access to the LabsLand space. The space address usually looks like example-school.labsland.com or example-university.labsland.com.
If you cannot see the group management buttons, first check that you are on the space home page. If the buttons still do not appear, ask a space administrator to grant the right role or contact LabsLand support.
Create the group
Section titled “Create the group”Step 1 - Open your institution’s space
Section titled “Step 1 - Open your institution’s space”Open the LabsLand space for your school or institution. If you are not sure which address to use, ask the person who created the space or contact LabsLand support.
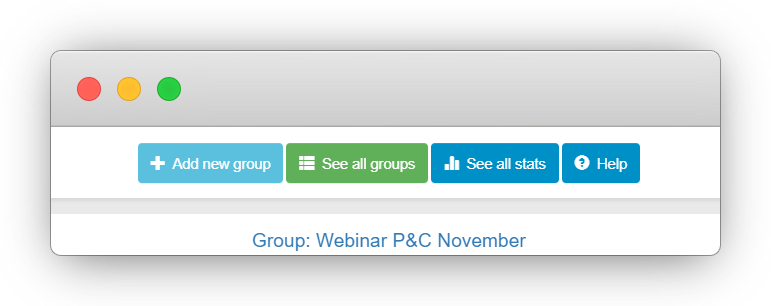
Step 2 - Select Add new group
Section titled “Step 2 - Select Add new group”On the space home page, use the Add new group button.
If you cannot find the button:
- make sure you are on the space home page
- confirm that you are signed in with an administrator account
- ask another administrator to review your permissions
- contact
support@labsland.comif the space seems misconfigured
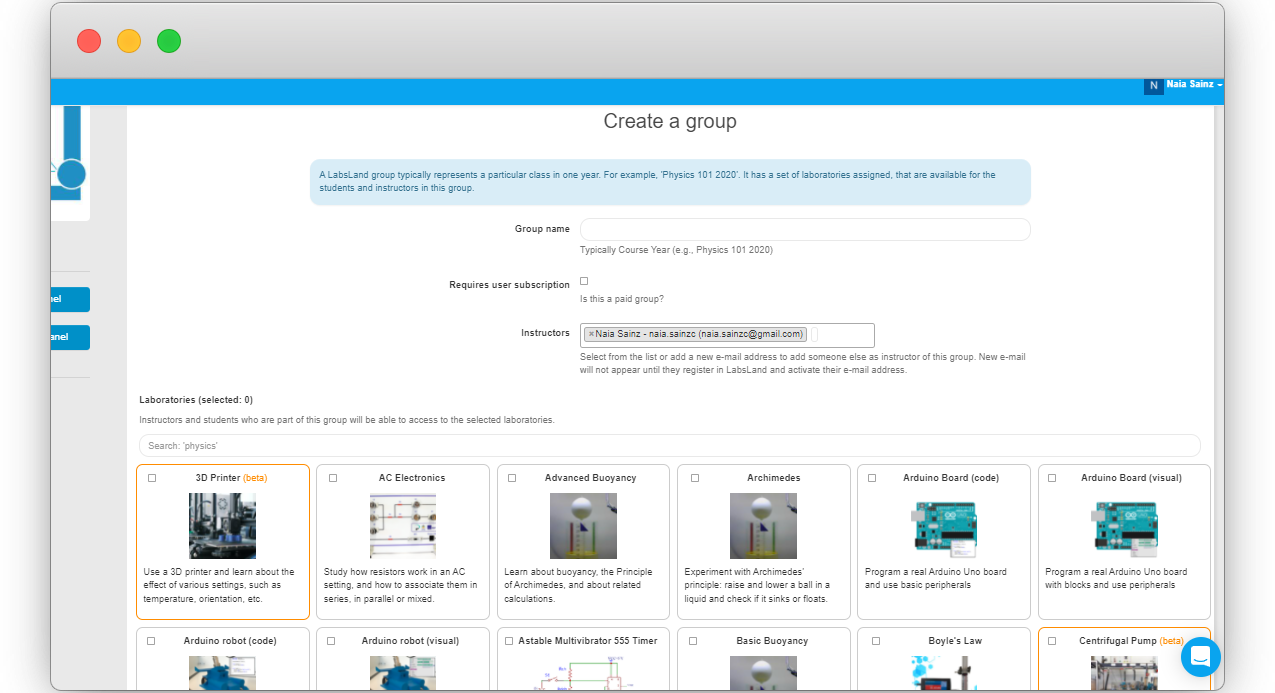
Step 3 - Configure the group
Section titled “Step 3 - Configure the group”After selecting Add new group, enter a clear group name. A good name usually includes the subject, level, and year, for example Technology 2026 or Physics 2026.
You can also invite other teachers or instructors in the group configuration screen. If the person already has a LabsLand account, they are added to the group. If they do not, LabsLand can send an invitation to their email address.
Use teacher/instructor invitations only for colleagues who should manage or review the group. Students access the group through the student access methods described in the next guide.
When inviting colleagues, administrator privileges are usually the best option if they should be able to create their own groups. Use a more limited teacher or instructor role when they only need to use or review existing groups.
Assign laboratories
Section titled “Assign laboratories”After naming the group, select the laboratories that students in that group should use. Keep the first selection focused. A small set of relevant laboratories is easier for students to navigate than a long catalog.
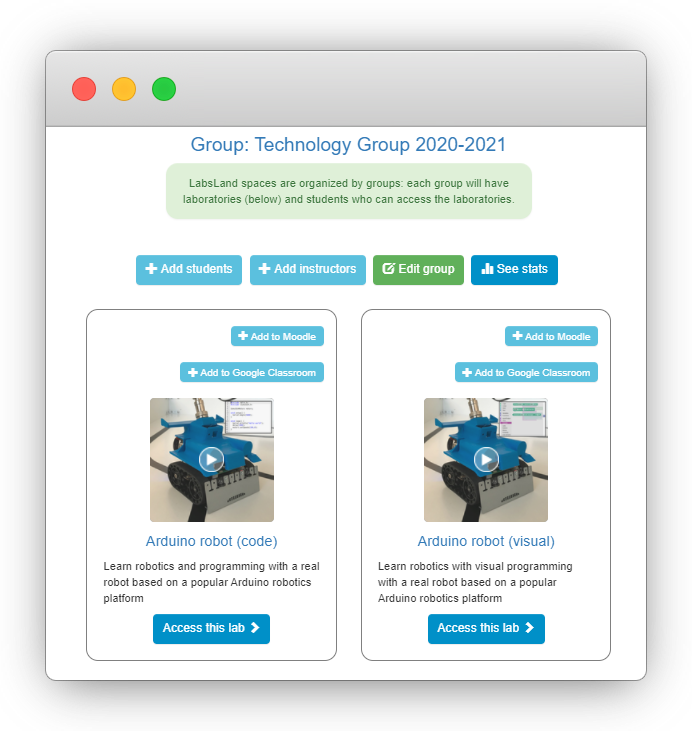
When you select a laboratory, its visual state changes and the selected count updates. In the original example, a technology group is assigned the Arduino Board and Arduino Robotics laboratories.
Save the group when the name, colleague access, and laboratory selection are correct.
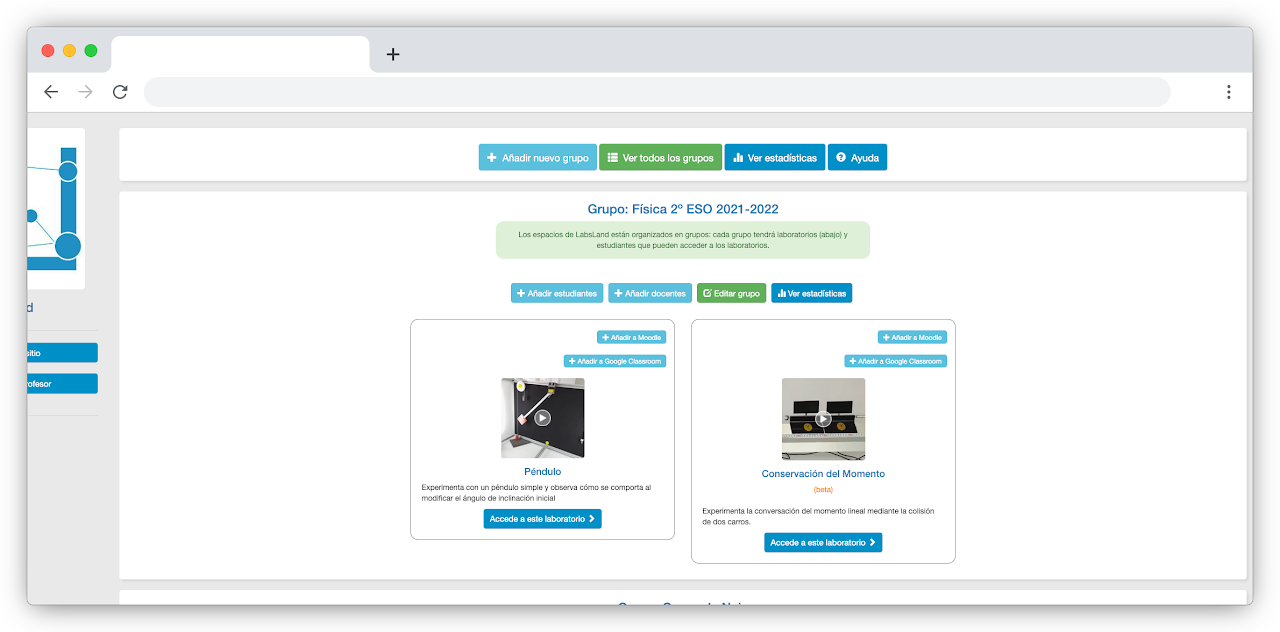
Check the result
Section titled “Check the result”After saving, LabsLand returns you to the space home. The new group should appear as a group card with the group title and the assigned laboratories.
Open the group or review the card and confirm that:
- the group name is correct
- the expected laboratories are listed
- the right teachers or instructors can manage or review the group
- the group is ready before you share access with students
Next step
Section titled “Next step”You now have a group with laboratories assigned. Teachers can access the labs from the group card. To let students enter the labs, continue with Preparing access for students.