Configuring access through a link
An access link is the simplest way to send students to LabsLand when you do not need an LMS launch.
Create the link
Section titled “Create the link”Step 1 - Open the group
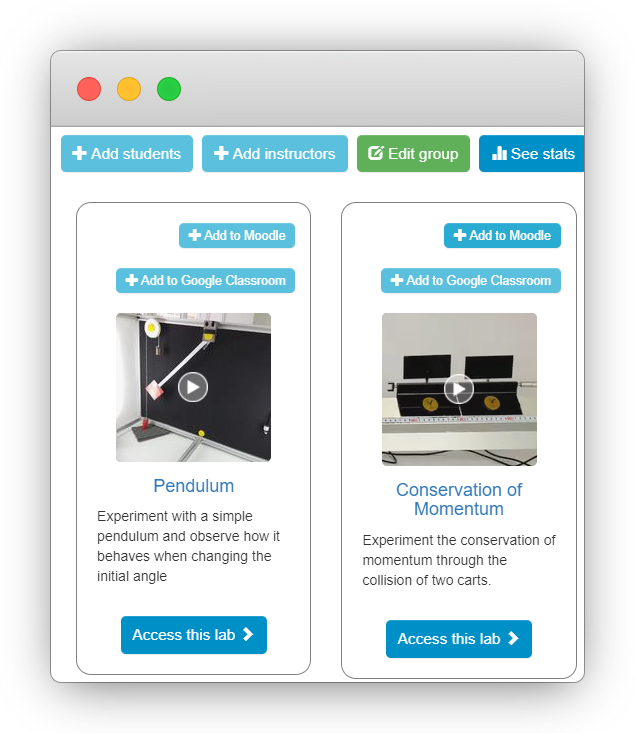
Section titled “Step 1 - Open the group”Open the LabsLand space and choose the group that contains the laboratories students should use. If the laboratory is not assigned to the group yet, assign it before creating the link.
Step 2 - Choose Add students
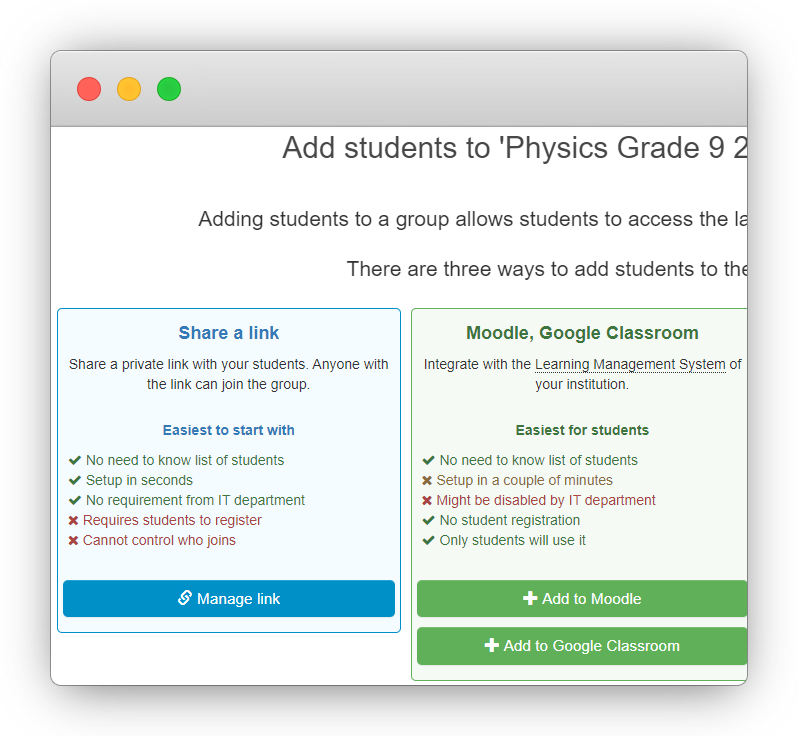
Section titled “Step 2 - Choose Add students”Select Add students on the relevant group or laboratory. LabsLand will show the access options available for that group.
Step 3 - Create or manage the link
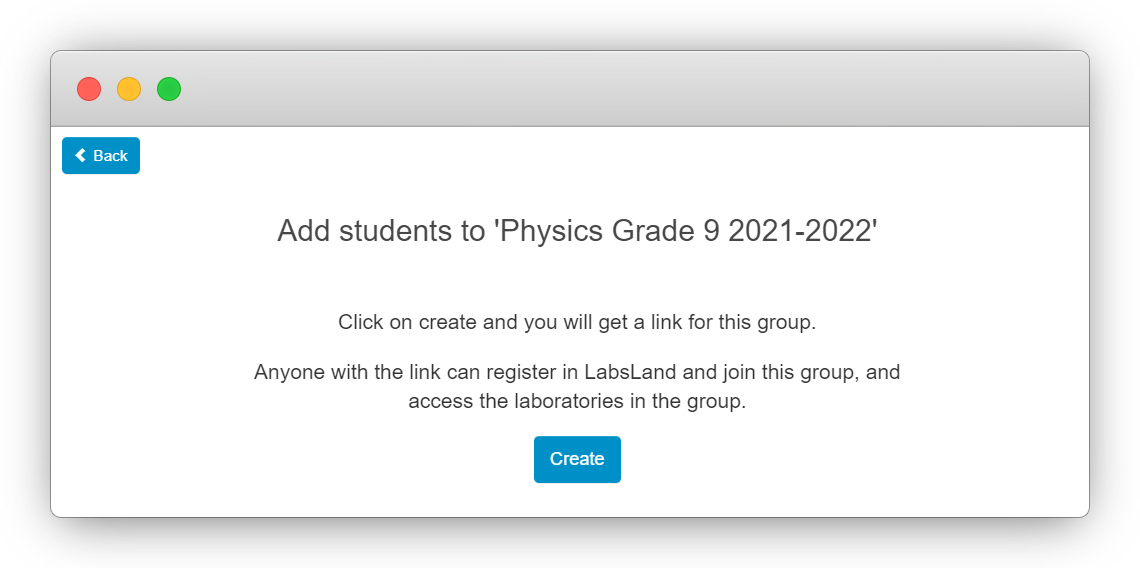
Section titled “Step 3 - Create or manage the link”Choose Manage link for the direct access method. If the link does not exist yet, confirm by selecting Create.
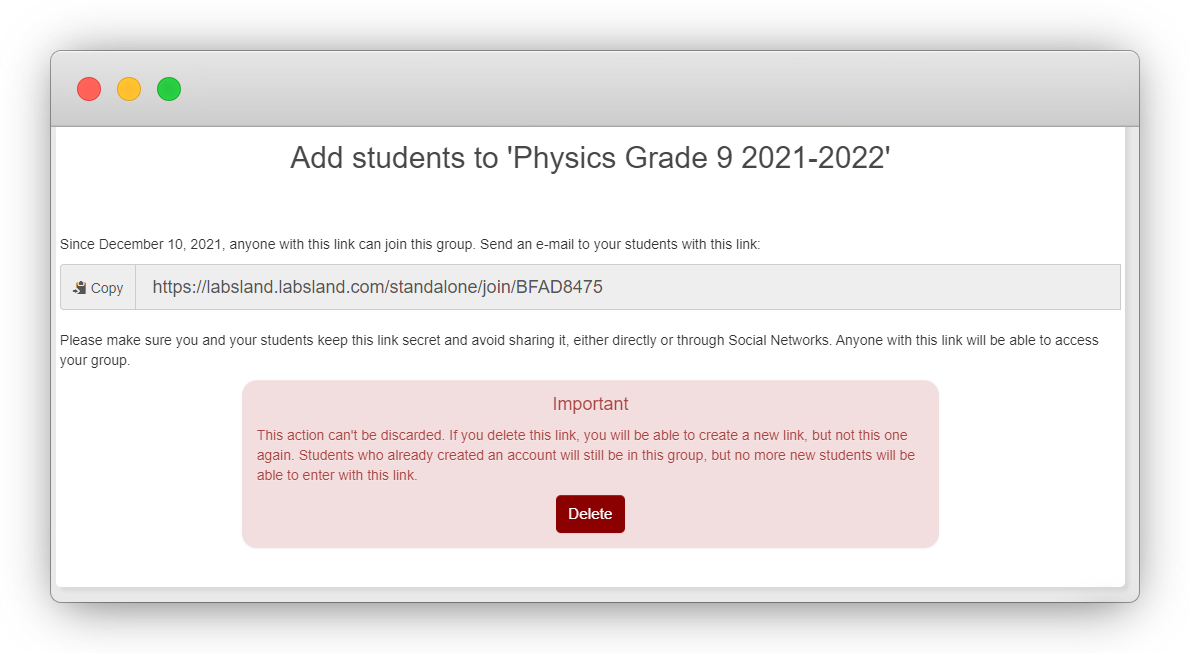
Step 4 - Copy and share the link
Section titled “Step 4 - Copy and share the link”Copy the generated link and share it where students already expect course instructions: a classroom page, email, LMS announcement, shared document, or message.
What to include with the link
Section titled “What to include with the link”Include a short note with the link:
- the name of the class or course
- the laboratory students should use
- any deadline or activity instructions
- the support contact if access does not work
Before sharing it with the whole class, test the link with a student-style account when possible. Confirm that the student lands in the expected group and only sees the intended laboratories.
Other alternatives
Section titled “Other alternatives”If the course uses a learning platform, an LMS integration may be cleaner. If the class uses Google Classroom, continue with Configuring access through Google Classroom.